If you’re here that means you want to be able to view your Zaybra subscriptions in Hubspot in a quick and easy way. You want to view the most important aspects of each subscription without having to open them up individually. Or maybe you just like the way lists look.
Regardless, I’ll show you the ropes! In this post, I’ll teach you how to create custom Zaybra subscription views inside Hubspot so you can see subscriptions that are active, canceled, downgraded, and more!
Before we dive in, let’s get an idea of what we’re looking at. Some of the different types of views include:
- Trialing: This indicates if the subscriber is giving your product a test run!
- Active: Your customer is actively paying for and using your product. Congrats!
- Past Due: Looks like your customer is a bit late on his most recent payment.
- Canceled: Your customer opted out of the subscription.
- Upgrades: Your customer liked your product so much he upgraded! Nice job!
- Downgrades: Your customer didn’t need the whole package and downgraded.
How to a Create Subscription View:
Now that we have the general information out of the way, let’s make a new view! Don’t worry. This is the easy part. To create a new view:
1. Log into your Hubspot portal and go to Contacts.
- In the upper left corner of the portal, click the drop down menu (just below the
Hubspot logo) and select Zaybra Subscriptions.
- Next to the All Records tab, select Add View.
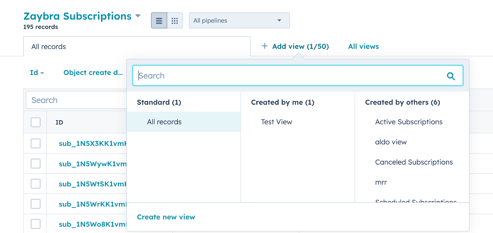
- You can do two things from here: Use an existing view or create a new one. Let’s create a new one by clicking Create New View!
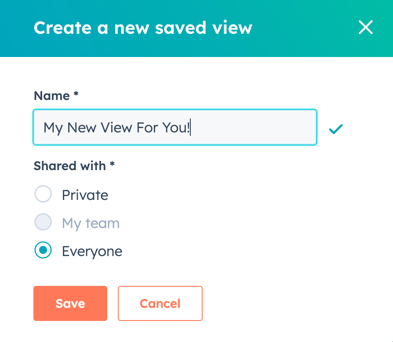
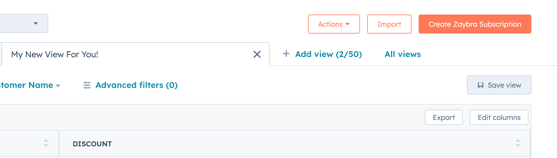
- Give it a name and choose who gets to view the view.
- A few columns will be set up for you by default, but we can change them by clicking Edit Columns on the right hand side of the portal.
- From here you can select what columns you want by checking the box next to them on the left side of the menu. If you want to change the order that the columns appear in you can click and drag them into place under Selected Columns. Finally, you can remove columns by clicking the X on the side of each box.
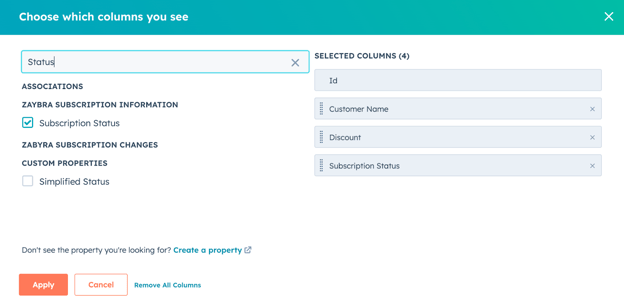
- When you’re finished, click Apply.
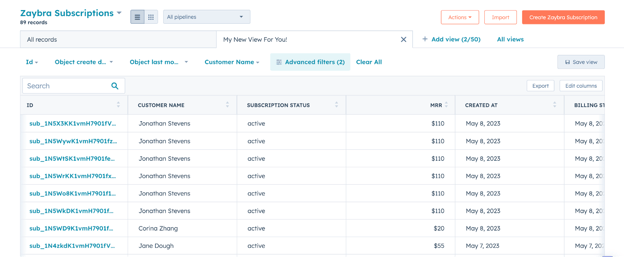
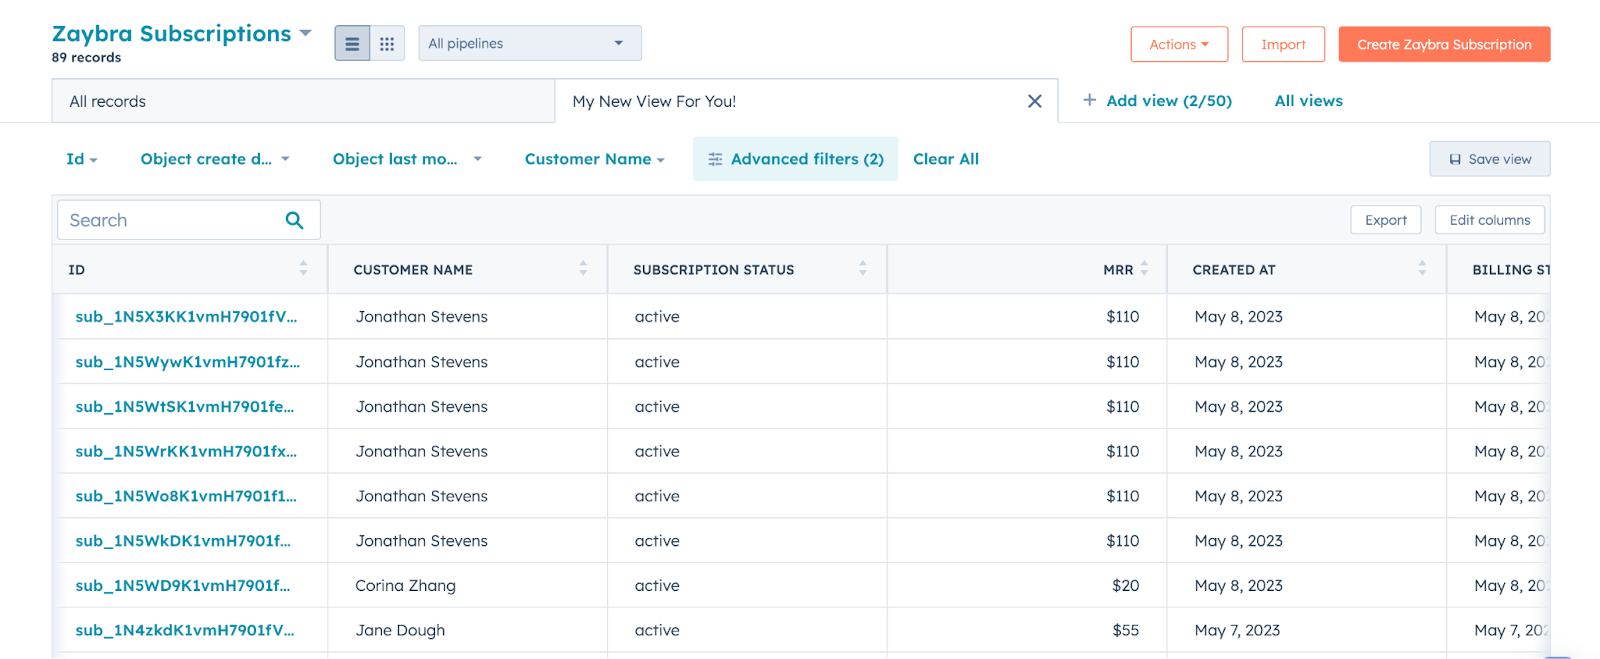
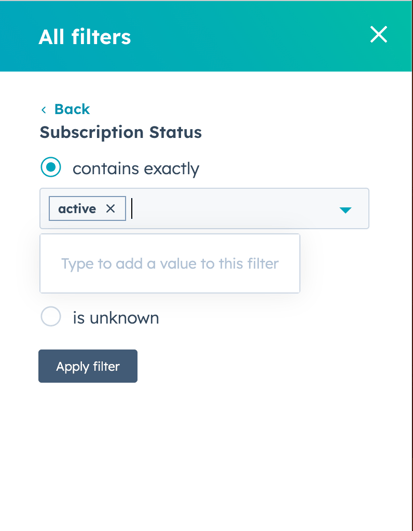
- If you only want to view certain data types, you can create a filter! Click Advanced Filters and set your parameters. For example, I only want my view to display active subscriptions. So I clicked Advanced Filters, Add Filter, searched and selected Subscription Status, selected Contains Exactly, and then entered active in the box! After that, hit Apply Filter and you’re done.
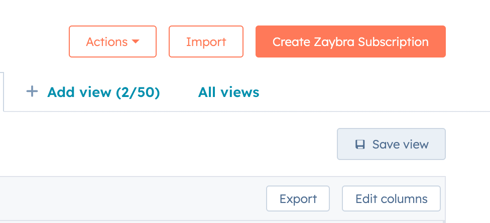
- Before you revel in a job well done, be sure to hit Save View in the upper right corner of the screen so you don’t have to recreate it later.
All done. You can create as many views as you like, so go nuts!